Introduction to Embroidery Digitizing
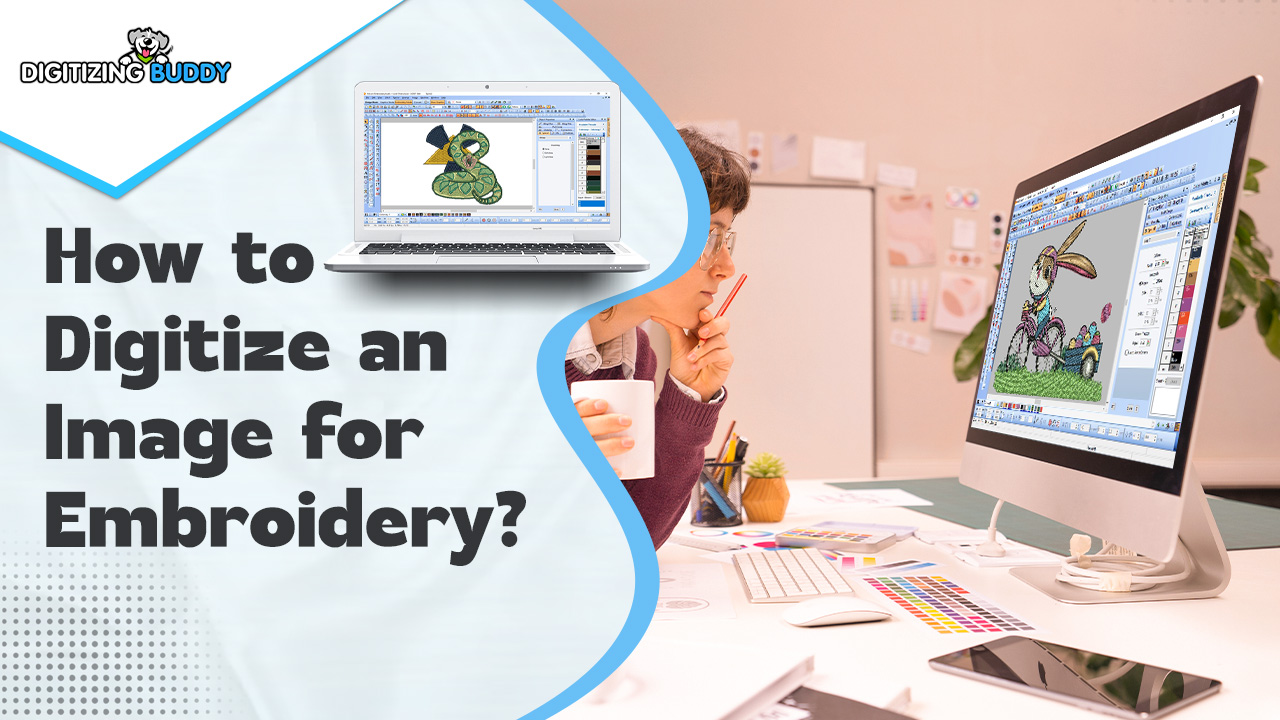
Embroidery digitizing is the process of converting an image into a digital file that can be read by an embroidery machine. This file tells the machine how to stitch the design, including the stitch type, color changes, and stitch path. Understanding the basics of how to digitize an image for embroidery can help you create stunning embroidery pieces from any image.
The Importance of Quality in Digitizing
The quality of the digitizing process directly impacts the final embroidery outcome. Poor digitizing can lead to designs that don’t sew out correctly, with issues like gaps, overlaps, and uneven stitching. Investing time in learning and using proper techniques ensures that the final product is clean, professional, and visually appealing.
Essential Tools for Digitizing Images
To start digitizing images for embroidery, you’ll need the right tools. These include a computer, digitizing software, and a compatible embroidery machine. Popular digitizing software includes Wilcom, Brother PE-Design, and Hatch Embroidery. Each offers unique features that aid in creating precise and high-quality embroidery designs.
Choosing the Right Image for Digitizing
Selecting the right image is crucial for successful embroidery digitizing. High-contrast images with clear lines and minimal fine details work best. Complex images with too many colors or intricate details can be challenging to digitize accurately and may not translate well into stitches.
Preparing the Image for Digitizing
Before digitizing, it’s important to prepare the image. This involves cleaning up the image using graphic design software like Adobe Illustrator or CorelDRAW. Remove any unnecessary details, adjust the contrast, and ensure the image is in a suitable format, typically PNG or JPEG, for import into your digitizing software.
Understanding Stitch Types
Different stitch types serve various purposes in embroidery. The three main types are:
- Satin Stitches: Ideal for outlines and borders, providing a smooth, shiny finish.
- Fill Stitches: Used for larger areas, giving a textured look.
- Running Stitches: Best for fine details and outlines, similar to a line drawing.
Choosing the appropriate stitch type for each part of your design is crucial for achieving the desired effect.
Step-by-Step Digitizing Process
- Import the Image: Open your digitizing software and import the prepared image.
- Outline the Design: Use the software’s tools to outline the different elements of the image. This step sets the foundation for where stitches will be placed.
- Assign Stitch Types: Decide which stitch types to use for each part of the design and assign them accordingly.
- Adjust Stitch Density: Set the stitch density based on the fabric type and the design’s requirements to ensure durability and visual appeal.
- Add Underlay Stitches: These provide a stable base for the top stitches and help prevent fabric distortion.
- Optimize the Stitch Path: Ensure the embroidery machine follows an efficient path to reduce thread breaks and machine wear.
- Preview and Adjust: Use the software’s preview function to simulate the embroidery and make any necessary adjustments.
- Save and Export: Save the file in the appropriate format for your embroidery machine, commonly DST or PES.
Testing and Refining Your Design
Once the digitizing process is complete, it’s important to test the design on a similar fabric to what you’ll use for the final product. This allows you to spot any issues and make necessary adjustments before embroidering the final piece.
Common Digitizing Mistakes to Avoid
- Overcomplicating the Design: Too many details can make the design difficult to stitch accurately.
- Ignoring Fabric Type: Different fabrics react differently to stitches. Adjust stitch types and densities accordingly.
- Skipping the Test Stitch: Always test your design to catch and fix issues before the final embroidery.
Advanced Digitizing Techniques
For those looking to take their digitizing skills to the next level, consider exploring advanced techniques such as 3D puff embroidery, applique digitizing, and integrating specialty threads. These techniques can add depth and unique textures to your designs, making them stand out.
Conclusion
Embroidery digitizing transforms your creative ideas into beautiful, tangible pieces. By understanding the process, choosing the right tools, and practicing your skills, you can create stunning embroidery designs that bring your images to life. For high-quality digitizing services, consider “Machine Embroidery Digitizing | Digitizing Buddy,” ensuring your designs are expertly crafted and ready for stitching.
Digitizing images for embroidery by Digitizing Buddy involves a combination of artistic skills and technical knowledge. By following the steps outlined in this guide and continuously refining your techniques, you can master the art of embroidery digitizing and create beautiful, professional-quality embroidered pieces.


