Introduction
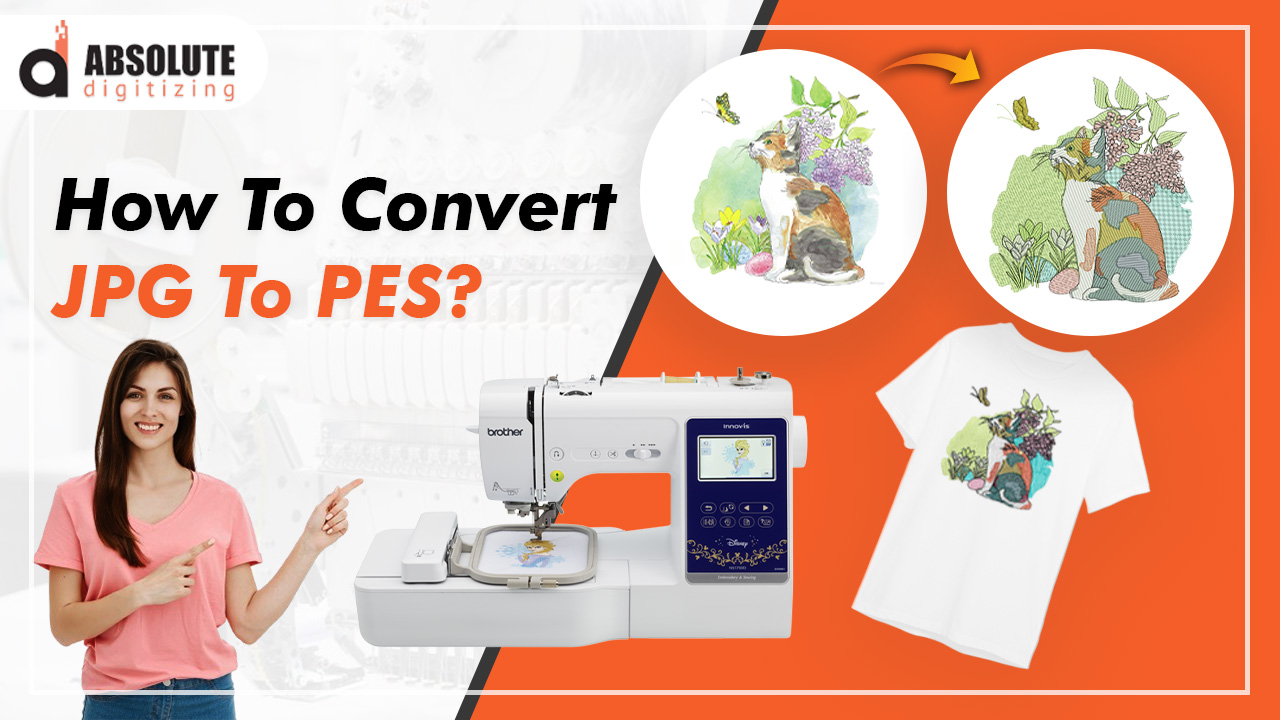
Embroidery has come a long way from traditional hand stitching to modern machine embroidery. One of the key steps in modern embroidery is converting images into a format that embroidery machines can read. For beginners, converting JPG to PES can seem daunting. This guide provides essential tips and best practices to help you to convert JPG to PES.
Understanding PES File Format
What is a PES File?
A PES file is a specific file format used by embroidery machines to understand how to stitch a design. It includes detailed instructions on stitch placement, color changes, and stitch types, making it a critical component for machine embroidery.
Why Convert JPG to PES?
JPG images are raster files composed of pixels, making them suitable for digital displays but not for embroidery machines. Converting JPG to PES translates the image into a series of stitches, enabling the embroidery machine to accurately reproduce the design.
Choosing the Right Software
Popular Conversion Tools
Several software programs are designed to convert JPG to PES. Some of the most popular ones include:
- Wilcom Hatch: Known for its robust features and ease of use.
- Embird: A versatile program suitable for both beginners and professionals.
- SewArt: Offers a straightforward interface for basic conversions.
- Brother PE-Design: Specifically designed for Brother embroidery machines.
Features to Look For
When selecting software, consider features such as ease of use, comprehensive editing tools, and compatibility with your embroidery machine. Ensure the software can handle various file formats and offers support and tutorials.
Preparing Your JPG Image
High-Quality Image Selection
Start with a high-resolution JPG image to ensure the best conversion results. Low-quality images can result in poor embroidery designs, so it’s crucial to choose a clear and detailed image.
Simplifying the Design
Complex designs with many colors and intricate details can be challenging to convert accurately. Simplify your design by reducing the number of colors and removing unnecessary details to make the conversion process smoother.
Conversion Process
Step-by-Step Guide
- Import the JPG Image: Open your chosen software and import the JPG image you wish to convert.
- Adjust the Image: Use the software’s tools to adjust the image’s size, orientation, and resolution according to your project needs.
- Outline the Design: Create an outline around the design, either manually or using the software’s automatic tracing tools, to define the embroidery areas.
- Assign Stitch Types: Choose appropriate stitch types (e.g., satin, fill, or running stitches) for different parts of the design.
- Set Colors: Assign thread colors to match the original image as closely as possible.
- Save as PES: Once you are satisfied with the adjustments, save the design in PES format.
Best Practices for Conversion
Test and Adjust
Always run a test embroidery on a scrap piece of fabric before committing to your final project. This helps identify any issues with the design and allows you to make necessary adjustments.
Use Layers
If your design is complex, use layers to manage different parts of the design separately. This makes it easier to make changes without affecting the entire design.
Keep Original Files
Always keep a copy of the original JPG and the editable project file. This way, you can go back and make changes if needed without starting from scratch.
Common Challenges and Solutions
Handling Complex Designs
Complex designs can be challenging due to the high number of stitches and color changes required. Simplify your design by focusing on the most important elements and using fewer colors.
Maintaining Design Integrity
Ensuring that the converted design closely matches the original JPG can be difficult. Use high-quality images and choose software with advanced tracing and editing tools to maintain the integrity of the design.
Tips for Beginners
Start Simple
Begin with simple designs to get a feel for the conversion process. As you gain more experience, you can move on to more complex designs.
Learn the Software
Take the time to learn the features and capabilities of your chosen software. Many programs offer tutorials and online support to help you get started.
Practice Regularly
Like any skill, practice is key to mastering JPG to PES conversion. Regular practice will help you become more proficient and confident in your abilities.
Advanced Techniques
Using Vector Images
For even better results, consider converting your JPG to a vector image before converting it to PES. Vector images can be scaled without losing quality and often result in cleaner, more precise embroidery designs.
Customizing Stitch Types
Experiment with different stitch types to see how they affect the final design. Different stitches can add texture and depth to your embroidery, making it more dynamic and interesting.
Tools and Resources
Community Online Tutorials
Many software programs offer comprehensive tutorials and online courses. Take advantage of these resources to improve your skills and learn new techniques.
Community Forums
Join embroidery forums and online communities to share tips, ask questions, and learn from experienced embroiderers. These communities can be invaluable resources for beginners.
Conclusion
Converting JPG to PES is an essential skill for anyone interested in machine embroidery. By choosing the right software, preparing your image carefully, and following best practices, you can create beautiful and precise embroidery designs. Remember to start simple, practice regularly, and use available resources to enhance your skills. Happy embroidering!